COMPLETE GUIDE FOR SOLAR PANEL INSTALLATION
COMPLETE GUIDE FOR SOLAR PANEL INSTALLATION
As of 2024, India is the 5th largest economy in the world, the 3rd largest energy-consuming country, and ranks 4th among the top GHG-emitting countries globally.
India also stands 4th globally in Renewable Energy installed Capacity (including Large Hydro), 4th in Wind Power capacity, and 5th in Solar Power capacity. At COP26, the country set an enhanced target of 500 GW of non-fossil fuel-based energy by 2030—the world's largest expansion plan in renewable energy. Solar power has witnessed a 30-fold surge in adoption, with installed capacity increasing from a mere 2.5 GW in 2014 to about 94.16 GW as of November 2024. The government's commitment to creating a sustainable world and scaling up solar capacity through initiatives like the International Solar Alliance reflects the country's potential to harness solar power in collaboration with more than 120 signatory countries.
Solar Panel Installation: A Step-by-Step Guide
As an Installer/EPC company, you are likely familiar with solar plant installation. Rather than detailing specific procedures, this guide outlines key processes to serve as a checklist for your next project. Whether you're an experienced installer or just starting as an EPC company, these guidelines will help you plan effectively and avoid common pitfalls.
While each solar plant installation is unique to its building, following standard procedures turns the process into a streamlined operation.
Before we begin, here are the essential documents you'll need as an installer/EPC:
- Site Survey Form
- Template for quotation
- SOP for Installation and Commissioning
- Operations and Maintenance Checklist
You can create these documents internally or use MNRE templates as a reference.
Let's examine the step-by-step procedure with practical examples.
1. Feasibility and System Capacity
Start by analyzing customer requirements through a phone consultation, requesting electricity bills and location details. This helps assess capacity requirements, irradiation levels, rooftop area, and potential shadow conditions.
Once you determine the capacity, you can develop accurate cost estimates and quotations.
- First, analyze 12 months of electricity bills to determine the optimal solar capacity for maximum electricity reduction.
- Then, conduct a site survey to assess the realistic capacity your roof can accommodate. Refer to our previous blog for detailed site assessment guidelines. Your final capacity will be based on the lower of these two figures.
2. Design and Sizing
As a professional, our expertise ensures proper installation and optimal performance of rooftop solar plants. This guide provides key insights for efficient and successful installations.
While installations continue to grow, it's essential to ensure not only that solar panels last for 25 years but that the entire installation serves its full lifetime. Design and workmanship play critical roles in achieving this goal, making it crucial for professionals to have a solid understanding of solar design.
Why is understanding solar design fundamentals crucial for professionals and businesses in the solar industry?
Solar design involves specific rules and practices that adapt to site conditions and consumer requirements. Despite the availability of standardized kits, each solar plant is unique to its location—much like every house is distinct.
To draw a comparison, installing a solar plant isn't like installing a simple air conditioning unit; it's more akin to installing a central air conditioning system. This process requires careful design based on the customer's needs, room specifications, and other factors. Think of it like interior design, where the approach must reflect both the customer's preferences and practical site conditions.
Similarly, solar design is shaped by location, customer requirements, roof type, and shadow conditions.
Let's explore the various aspects of solar design.
What Is Solar Design?
Solar design is a blueprint for installation, similar to how an architect provides detailed plans to an on-site engineer. A solar design typically includes:
-
2D drawings showcasing:
- Plant layout – panel/module arrangement
- Structure layout
- String and Cable layout
- Earthing layout
- Details i.e., datasheets of all major equipment including but not limited to solar panels, inverters, and remote monitoring systems.
- Generation report (PVsyst/any simulation software report) that includes the exact system configuration with system losses and estimated generation.
We recommend checking the Aerem's partner app that facilitates your design processes with guidance from our experts to solve any complexities in your project.
Key Elements of Solar Design
-
Site Assessment and Feasibility Studies
Site survey and feasibility is like medical diagnosis—if done correctly, the treatment plan will be appropriate. Any misdiagnosis leads to incorrect treatment.
Similarly, when information is misreported in a site survey form or details are overlooked, design flaws can lead to installation delays, troubleshooting issues, and unexpected expenses.
We recommend checking out our blog on-site assessment to learn more about what to record in site surveys.
-
System Sizing and Configuration
While every site is unique, a common challenge is insufficient space for installing a solar plant that meets the customer's electricity needs. When space is limited, we recommend using higher-capacity solar panels to maximize system size.
Moreover, overloading the inverter can optimize its functioning. Since solar output varies throughout the day and peak capacity occurs only during specific periods, overloading helps optimize performance and can reduce system costs by allowing the use of a smaller inverter.
A good design isn't just about combining the best technology—it's about balancing cost and performance. For example, while a tracker system outperforms a fixed-tilt system, it's considerably more expensive and requires more space and maintenance. A fixed-tilt system typically offers a 4-5 year payback period while providing 25 years of generation with minimal maintenance.
-
3D and 2D Layouts
While 3D layouts aren't mandatory for solar plant design, they're valuable for:
- Analyzing shadows and estimating shading losses
- Testing various configurations for different roof orientations to determine optimal capacity
- Helping convert leads by letting clients visualize the installation and request changes
- Enabling quicker installation by clearly showing the positioning of panels, cables, inverters, and junction boxes
There are various software options for creating 3D models—check out our blog on solar software to learn more.
While 3D layouts can enhance pre-sales, detailed designing for plants above 10kW should include 2D designs as well.
-
Shading Analysis
Rooftop sites often have shadows from nearby buildings, water tanks, and trees. This doesn't automatically disqualify a site—we just need to understand the timing and duration of shadows to minimize their impact on generation.
While you can calculate shadow length and timing with formulas and paper, this process can be cumbersome. Software like Helioscope and PVsyst simplifies this analysis, allowing designers to optimize capacity without compromising generation.
Remember that solar panels can cast shadows on each other if row spacing isn't properly maintained. The required distance varies by location and panel direction, making shading analysis essential for determining optimal spacing.
-
PV system Reports
PVsyst and similar software tools estimate generation based on system configuration, location, orientation, tilt, and system losses. While general location-based estimates exist, PVsyst provides site-specific predictions. You can import 3D models for better shading accuracy and get monthly generation estimates.
These estimates are crucial for calculating IRR and payback periods, helping customers understand financial benefits and facilitating deal closure.
Additionally, these software tools include extensive component libraries with the latest solar panels and inverters. PVsyst Reports detail efficiency and performance metrics, helping showcase additional generation potential from high-efficiency components like inverters or half-cut monocrystalline panels.
Best Practices in Solar Design
- Do not install solar panels in areas with afternoon shadows. Shadows not only reduce generation but can damage panels long-term.
- Always design according to safety standards and regulations, considering weather conditions and panel longevity.
- Thoroughly check and follow solar panel and inverter manufacturer guidelines.
- Ensure site engineers are well-trained in conducting surveys. Use digitized survey forms and SOPs.
- Review design details with clients before finalizing layouts to prevent last-minute changes.
- Verify component prices and delivery schedules early to avoid delays and extra costs.
- Review designs with the installation team and arrange site visits after closing deals to familiarize them with the location and identify potential issues.
3. Permits and Approvals
Begin the approval process as soon as you finalize the deal. Register with DISCOM for net metering immediately to ensure timely completion and quick benefits for your customer.
For residential installations, check eligibility for PM Surya Ghar Muft Bijli Yojana subsidies. If eligible, help your client register on the National Solar Portal.
Starting government processes early helps prevent delays in project completion.
4. Procurement of Materials
Plan procurement well ahead of time. Check the availability and prices of major components, especially solar panels and inverters, as they represent significant costs and can impact installation timelines.
The Bill of Materials is crucial after design completion. Prioritize:
- High-value items like solar panels and inverters
- Module mounting structure, especially if customized or elevated
- Materials with long delivery times or those sourced from distant vendors
Request test reports and photos before shipment. Structure payment terms strategically, considering that clients typically pay in installments.
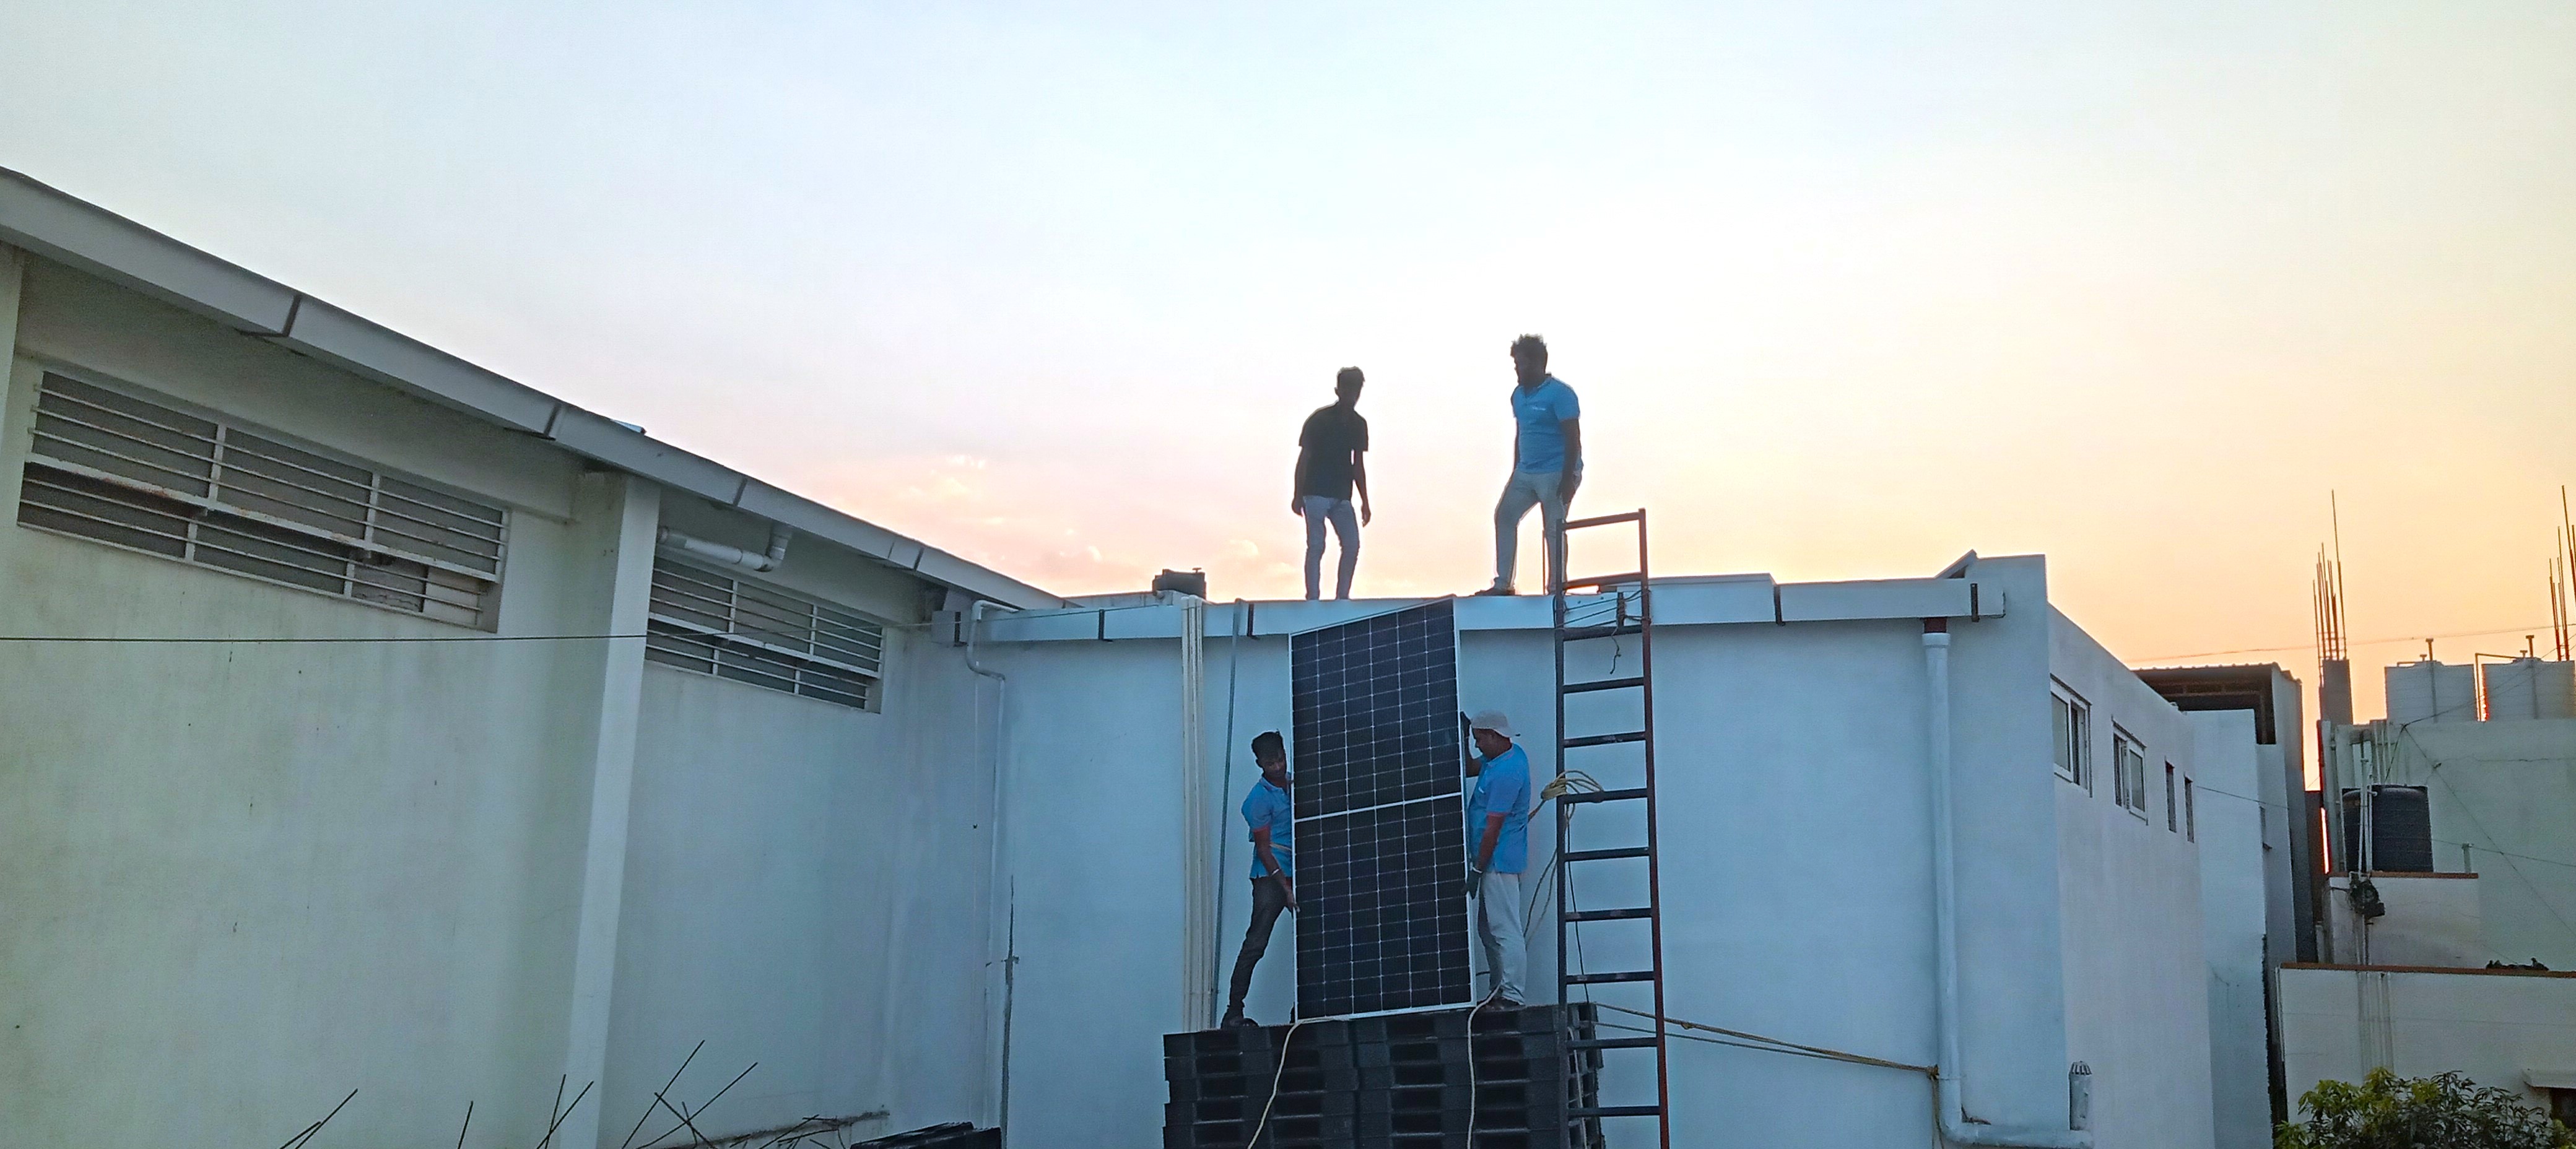
5. Installation
For sloped roofs, prioritize safety line installation to ensure worker protection.
Clear the site of debris and arrange power and water supplies before beginning installation.
Follow these installation steps:
- Installation of PV array mounting structure
- Installation and testing of structure earthing system
- Installation of PV modules
- Earthing of PV module frames
- DC cabling and installation of DCDB
- AC cabling and installation of ACDB and inverter
- System protection and safety – Earthing, Lightning Arrestor
- Remote Monitoring system installation
- Placing of signages and labels
6. Testing and Commissioning
After installation, thoroughly test the system before commissioning to ensure proper operation and safety.
- Pre-commissioning tests including voltage and current checks
- Commissioning the system
- Anti-Islanding functionality test
- Net Metering – Coordinate with DISCOM authorities for inspection and approval
7. Maintenance and Monitoring
Remote Monitoring System: After configuring the monitoring system, demonstrate the mobile application and website features, and provide login credentials to the client.
Panel Cleaning: While solar panels are low-maintenance, periodic cleaning prevents dust accumulation and maintains efficiency. Provide cleaning guidelines or offer professional services.
Warranties and Aftercare: Clearly communicate warranty terms for the rooftop solar plant and establish clear channels for future support and troubleshooting.
8. Conclusion
Good design ensures optimal system operation, robustness, and longevity with minimal maintenance. Better design leads to higher energy generation and customer satisfaction. Since installing solar panels is a major investment and word-of-mouth influences EPC company selection, well-designed solar plants strengthen your portfolio and maintain client happiness. The time and effort invested in design are certainly worthwhile.
Take the first step toward a sustainable future today! Contact us to explore how we can help you transition to renewable energy, reduce your energy costs, and make a lasting impact on the environment. Let’s work together to build a cleaner, greener tomorrow.
For solar installations or solar-related inquiries, contact us at REV Solar.